
You can override a WooCommerce Template by recreating it in your own WordPress Theme at a similar file path but within your own theme or child theme which will allow WooCommerce to automatically replace the original with your new file and its alterations.
In this article I’ll show you each step to achieve this and give two real life examples from my own development experience.
Table of Contents
- Customising WordPress and WooCommerce in general
- How to find a specific WooCommerce Template
- How to override or customize the WooCommerce Template
- Example 1: How to edit WooCommerce Notification Emails to Customers
- Remove quantity column from email notifications in WooCommerce
- Example 2: How to edit WooCommerce’s Related Products Template
- Replace WooCommerce Related Products Template
- Learn to customize WooCommerce Fully with an online Udemy course
Customizing WordPress and WooCommerce in general
In general, WordPress can be overriden either by replacing a particular file (eg archive.php) in your own theme or child theme or by using certain hooks and filters (these are PHP functions you write in your theme).
WooCommerce, being a WordPress Plugin, can be overriden in the same way as WordPress in general.
If you wanted to override a template you need to,
- Find the original location of the template to override in the WooCommerce Plugin itself.
- Then copy that file and save it at a particular file path (the specifics of which we will discuss later as it depends)
- Make your edits to the file and save.
- The changes will then be reflected in the WooCommerce Site.
Below we’ll look at how to do this in more detail and give some examples of specific and common templates which you might want to override.
How to find a specific WooCommerce Template
Step 1: Download or View the WooCommerce Plugin
You are going to need to scroll through the files which make up the WooCommerce Plugin itself. You could either do this by downloading the whole plugin from the server or searching through it on your server files system. I prefer the former because I can search it more effectively on my computer using Sublime Text Editor.
Step 1.1 Find WooCommerce Plugin:
To download it (or simply view it on the server) you will need to go to your server cPanel and click the ‘File Manager’ Icon.
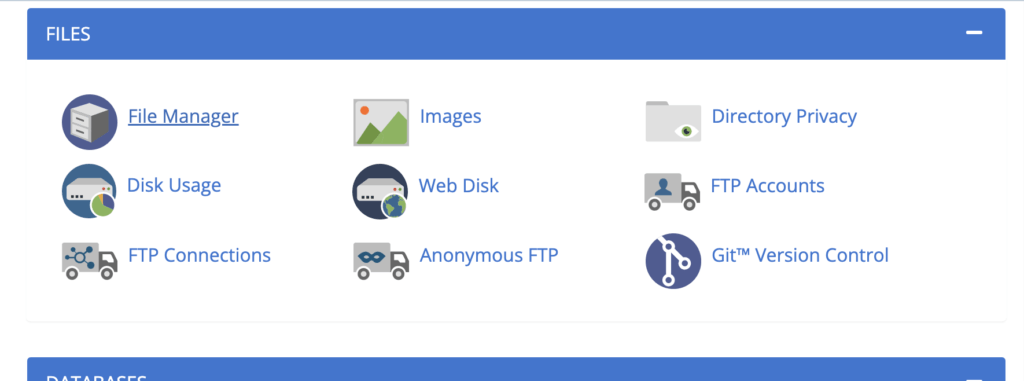
Then go to your particular installation and find the WooCommerce Plugin at /wp-content/plugins/woocommerce/
PROTIP: If you are overriding a template in a related WooCommerce plugin which is not the WooCommerce plugin itself then a similar process can be followed – you just need to find it at a slightly different path than the above, for eg /wp-content/plugins/yourCustomPlugin/
Step 1.2 Download or view it:
Now you can click on the WooCommerce Plugin itself and click compress. Choose a .zip format.
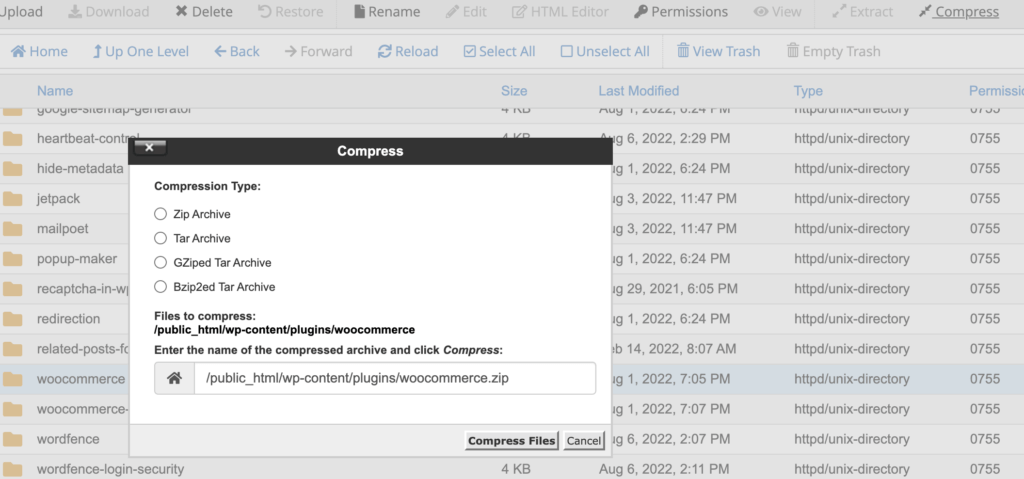
Once complete you’ll see the zipped file at the bottom of the list of files on screen.
If you double click on it it will start to download it.
You can then extract it on your file system and start to either search through it or peruse the files within.
Step 3: Search or scroll through the various files
If you know the specific location of the file you want then you can navigate to it and skip to section 3 below.
If you don’t know which template you need to locate you have a few options to narrow it down.
Step 3.1 Search for an HTML attribute:
On the WooCommerce Page in question in your site you could right click on the element you are attempting to override and see if it has an id or string that you could easily search for in the WooCommerce.
You can then search for this string in the downloaded folder and in this way identify which file you need to override.
If this doesn’t work for you then read on.
Step 3.2 Peruse the downloaded WooCommerce plugin and see if you can figure it out from there:
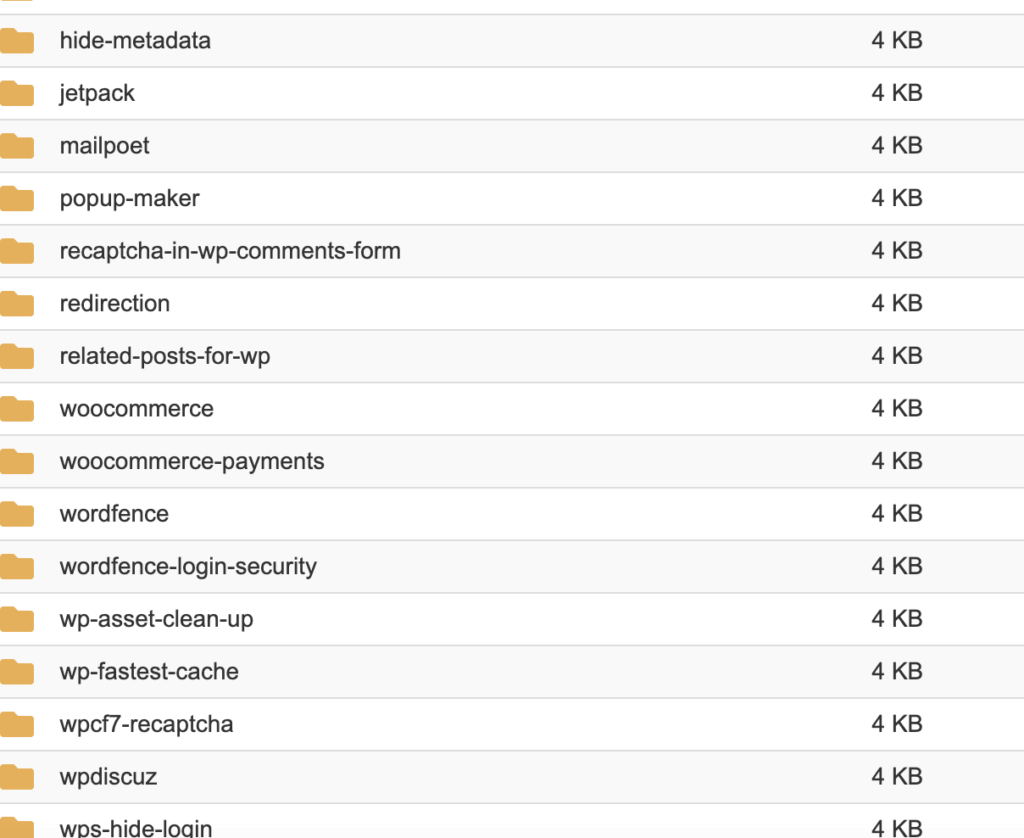
An alternative to the above is to just look at the various folders inside of /wp-content/plugins/woocommerce/templates/ and see if you can figure out where the file is you want to override.
If you are struggling you can add something to each file, then follow the steps in step 3 below and check the front end of the site to see if your changes have come through.
PROTIP: Sometimes WooCommerce will cache the file you are trying to override so its sometimes best to give it a few minutes before deciding you editing the wrong file.
Step 3.3 Google it
Failing all of the above you could just google ‘how to edit xxxx in woocommerce’ and see if someone has mentioned specifically where the file is located.
How to override or customize the WooCommerce Template
Now you have figured out, hopefully, which file you need to override specifically you can take a copy of that file, make your edits or additions and then save a copy of this, newly altered, file to your theme or child them in a specific directory and then reload the page to see you alterations on the site.
Step 1:
Copy all of the contents of the original file.
Step 2:
Create a new file at the specific file path named in the original file BUT in your own theme or child theme.
At the top of the original file in WooCommerce with which you are overriding there is a not confirming the name of the file path you need to create and place this file in.
For example, the WooCommerce email notification template starts with an indication of where to save a copy to override it.
/**
 * Customer invoice email
 *
 * This template can be overridden by copying it to yourtheme/woocommerce/emails/customer-invoice.php.
 *
 * HOWEVER, on occasion WooCommerce will need to update template files and you
 * (the theme developer) will need to copy the new files to your theme to
 * maintain compatibility. We try to do this as little as possible, but it does
 * happen. When this occurs the version of the template file will be bumped and
 * the readme will list any important changes.
 *
 * @see https://docs.woocommerce.com/document/template-structure/
 * @package WooCommerce\Templates\Emails
 * @version 3.7.0
 */
The general structure is to create a set of folders similar to those in WooCommerce’s own plugin within our own theme. WooCommerce and WordPress, when they see this file in this folder structure, know automatically that this file should take priority over the original.
Now you’ve recreated this file at the suggested file path you can add the contents of the original file and then make your additions and alterations to this file.
Next upload this, in whatever fashion you have set up in your process, to your theme or child theme and then go to the front end and reload the page in which you expect to see the results in.
PROTIP: Remember that you may have several caches to clear in order to see the alterations. It’s possible you have your own cache plugin on the site which may need to be cleared in order to see the changes. In addition sometimes WooCommerce itself can cache the original file for a few minutes before it realises there is a new version in your theme.
At this point you should have your new file updated to your site and you have successfully overriden a WooCommerce Template.
Example 1: How to edit WooCommerce Notification Emails to Customers
The Email Notifications WooCommerce sends out to Admin Users and Customers have certain templates which contain all the HTML, PHP and CSS that makes up these stylised emails.
If we want to alter them in some way we can override them using the process outlined above.
Step 1 Find the template:
In this example I’m going to peruse the file system in the WooCommerce Plugin files and see what I can spy instead of searching for it (like I do in the next example) by HTML element attribute as I suggested above just to show you a different way to do it.
When I look in the /WooCommerce/templates/ file path I can see that there is a folder called ‘emails‘ which is a good place to look.
When I look at the templates inside of here we can see all the different kinds of email templates available.
They are named appropriately as admin, customer and other templates and also have the ‘event’ when it is sent. Between these two things you could figure out which email template to copy.
Step 2 Replace the template:
Now in your own theme create a file at path wp-content/plugins/woocommerce/templates/emails/customer-completed-order.php.
NOTE: If you were overriding the email sent to customers when their order is completed then you could work to replace this template.
Make any alterations in which you want to make.
Copy the contents of the original file into the new file in your theme and upload it to your site.
Step 3 Test it out on your site:
Process an order on your site as a test (you could check it out as cash if you want) and then wait for the email to come through to you (as customer) and view it to see if your changes have come through.
PROTIP: You could also change the admin-new-order.php email template if you wanted to wait for a new and genuine order would come through. This email will be sent out to the admin email address of your WordPress installation. You could make the same changes in this file and add it to your theme as well to see if the changes are coming in.
Example 2: How to edit WooCommerce’s Related Products Template
WooCommerce has a Related Products area which can be used as a ShortCode and implemented on Product Pages.
It displays this with a WooCommerce Template which you can override. As an example of the theory above let’s go through the process of overriding this so you can see the process in action.
Step 1: Find the original template:
Let’s pretend I’m not sure where the template is so I’m going to search the WooCommerce Plugin itself for the HTML which displays the Related Product Area and in this way identify exactly which template file to cop y and replace in the later steps.
NOTE: If you aren’t sure how to download and search the plugin read above for how I describe to do this.
This is the related Products Area on the front end of the site

If you right click on this in the Front End you’ll see something like this which you can try to glean some specific HTML to search for in the WooCommerce Plugin code – to allow us to find the specific template.

So, now I’m gonna search a few of the more obvious attribute classes and id’s in order to find the right template to edit.
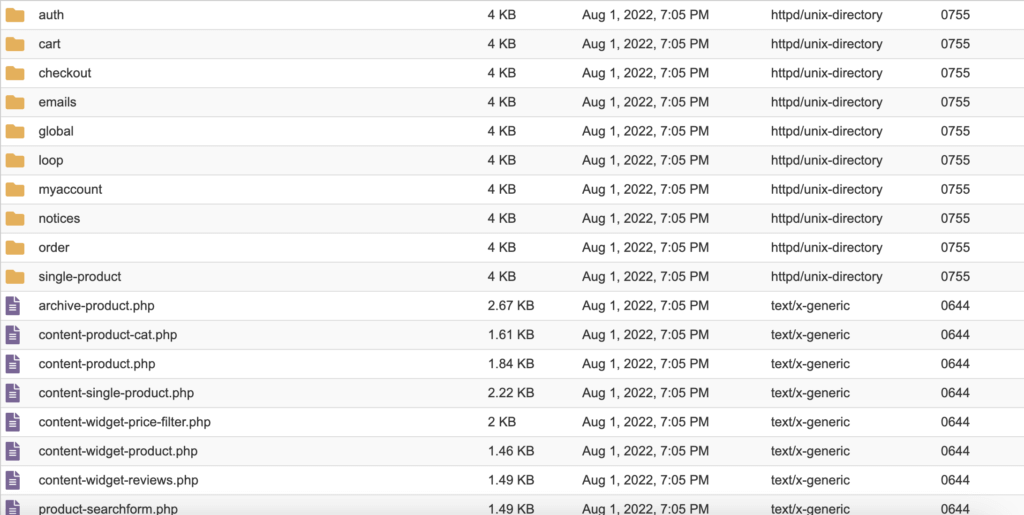
I chose to search for class=”related products” and when I did I found that this was a part of the file located at, wp-content/plugins/woocommerce/templates/single-product/related.php
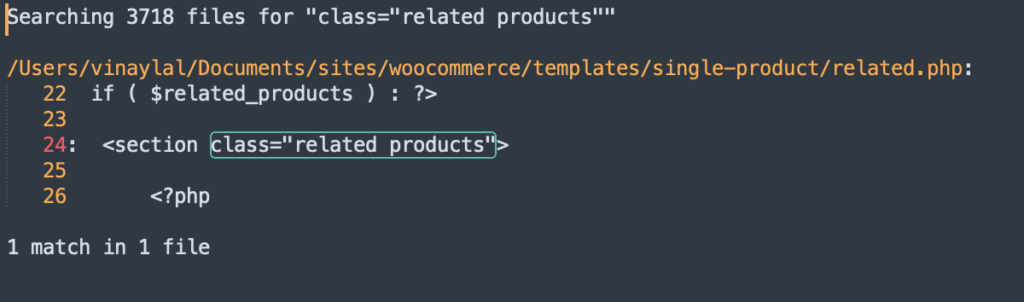
So, there we go we now know where the file is that we need.
Step 2: Add it to your own theme:
Now we know that the file is at wp-content/plugins/woocommerce/templates/single-product/related.php we can copy its contents and add it to a new file in our theme.
Step 2.1 Copy the contents of original file
Copy the contents at wp-content/plugins/woocommerce/templates/single-product/related.php
Step 2.2 Paste it into a new file
Create a new file inside of your theme at this path, /wp-content/themes/yourtheme/woocommerce/single-product/related.php
Paste the contents of the original file into it.
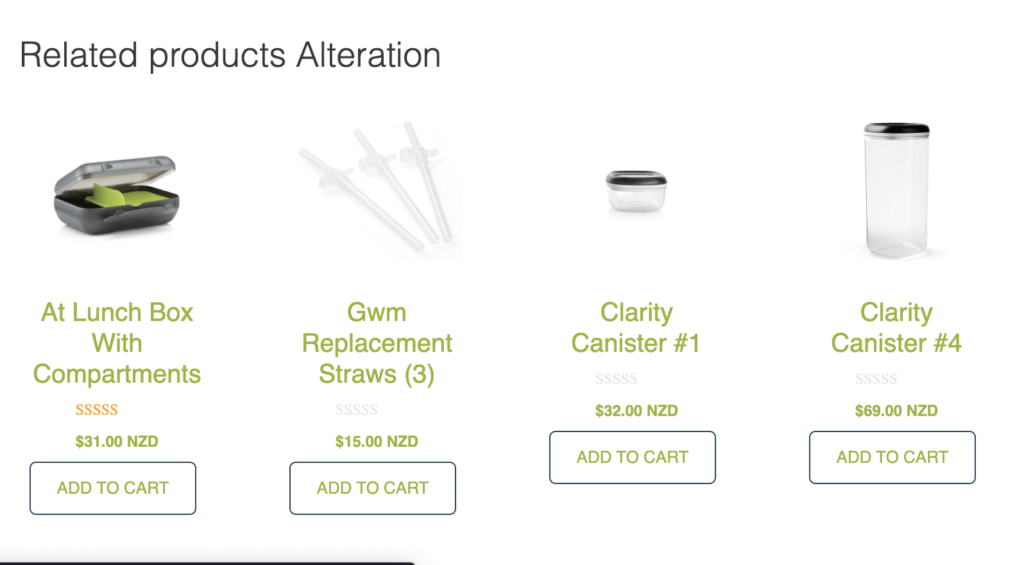
Now create a change. I simply added the word ‘Alteration’ to the exiting ‘Related Products’ Heading. So, once we upload it we should see the heading change from ‘Related Products’ to ‘Related Products Alteration’.
Upload this file or otherwise add it to your theme.
Step 3: Check that it worked:
Go to the same page where you were viewing the Related Products Area and reload the page.
You should see your changes presented to you.
PROTIP: Sometimes WooCommerce, your browser or your sites cache will need clearing before you can see the alterations.
When I reload the page I see something like this…
Learn to customize WooCommerce Fully with an online Udemy course
If you’d like to know more about how to customize WooCommerce completely check out these courses from Udemy which are low cost, online and have been completed by thousands of people.