You can create or edit a Menu in WordPress from the CMS by going to ‘Appearance’ -> ‘Menus’ in the left hand menu. If your theme doesn’t support the menu yet (ie if its a new menu) then you can also add some PHP to print out that menu in the theme.
Table of Contents:
Creating or editing a Menu in the CMS
Your WordPress website, out of the box, comes with at least one menu (being the main menu at the top of screen) but there can been multiple menus used and presented around the site.
To edit the main menu you can login to your CMS and in the left hand menu click on ‘Appearance’ -> ‘Menus’ and you’ll see an area to manage all the menus.
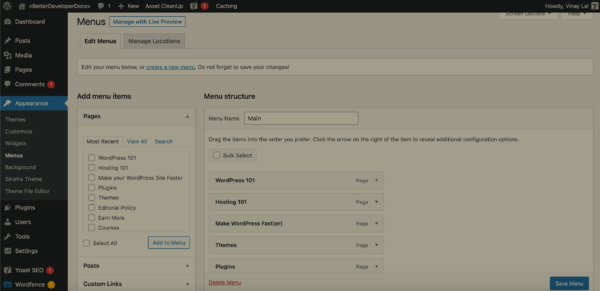
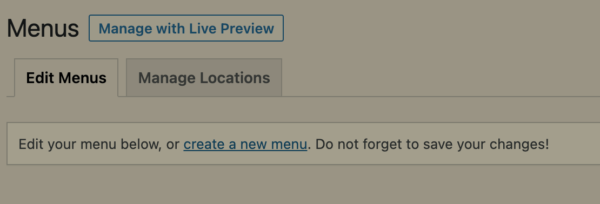
If you are creating a new Menu then you can do so with the link above.
If you are adding to an existing Menu then at the top you can select the specific menu with which you want to edit.

From there you can add specific Pages or Posts, Custom Links or Categories to the Menu.
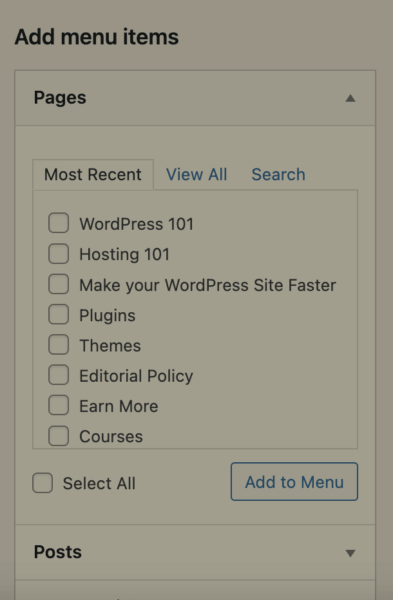
Whatever you choose from the left to be added to the menu will appear as a top level menu item. If you want it to be in a submenu under another existing menu item then you can click and drag it over the menu item that you want it to be under. Make sure it is indented and not in the same level as this will make it a top level item.
Add or remove as many links as you like. Save when you are done.
Importantly, you can also change some of the details of the Links themselves like the ‘Display Text’ by clicking on the particular menu item you want to edit.
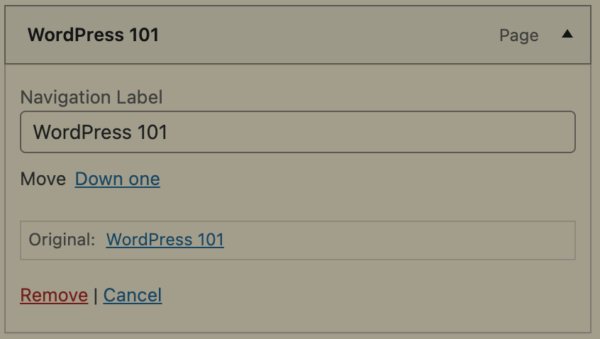
Adding a new menu to the theme
If the menu with which you are attempting to create which is not already being shown on screen then you may need to add it to your theme. Most themes comes at least with the Main Menu (at top of screen) but if you wanted to create a separate menu and display it in a sidebar or footer for example then you could create a menu in the CMS as described above and then include it in your template files with the below code and style as you please.
You could then add the newly created menu by adding this to your functions.php file in your theme. You can learn how to edit your site files here if you are not yet familiar.
If you want to see the full WordPress API Documentation on the register_nav_menus() you can read it here.
function bdd_custom_new_menu() {

    $locations = array(
       'bdd-new-menu'  => __( 'BDD New Menu' )
    );
    register_nav_menus( $locations );
}
add_action( 'init', 'bdd_custom_new_menu' );
Then in your template you can add something like this,
// existing template code is here
$output = wp_nav_menu(
			array(
				'theme_location' => 'bdd-new-menu'
			)
		);
echo $output;
The code above takes advantage of the wp_nav_menu() which you can read the API docs here.
Note: This will spit out quite a rudimentarily styles Menu so you will have to add various classes (html attributes) with which you can write CSS in order to style. For example, the below example is the same as the above except it adds a class to the <ul> html element which wraps the list elements. By default the wp_nav_menu() will produce this HTML wrapped around your menu items. Read the wp_nav_menu() which you can read the API docs here for more options for this function as well as more classes you can add.
// existing template code is here
$output = wp_nav_menu(
    array(
	'theme_location' => 'bdd-new-menu',
	'menu_class' => 'urlWrapperClass'
    )
);
echo $output;
Once all of that is saved in your child theme you can then add some CSS to it like this if you aren’t aware how to do this yet.
PROTIP: Adding a child theme is the best practice way to alter a theme and its templates including its menus. You should create a child theme in order to execute the code changes in this article. If you don’t the next time you update your theme the changes could be overwritten if you add these changes to the original theme files themselves.
