You will need to clone your WordPress site, either with a plugin or manually, in order to develop a sandbox version of your site which is free from public view and can take any alterations you wish to play around with before recreating them on the live site. In this article I’ll show you how.
- What is a clone exactly and what do we do with it?
- Local clone or on your host account?
- Creating a clone on your host account
What is a clone exactly and what do we do with it?
A clone is a working copy of your live site but on a slightly different URL (sub-domain). I wanted to make this clear because its possible to also just create a GIT repo of the WordPress theme and push and pull from there but this is really a convenient workflow to get code up and down from both live and dev sites and launch code when you are ready.
Local clone or on your host account?
You can do the clone on your own server (so its on the internet for all) or on your local computer (not on the internet). I’m not going to go through the process for setting it up locally (offline) because I think this is probably more trouble than its worth in WordPress but it is possible.
Creating a clone on your host account:
Using a Clone Tool on your server:
On your host’s cPanel there is sometimes a clone tool to help you easily clone any WordPress Installation on your server. This is super quick and easy but not available on all hosts. I use Bluehost but this doesn’t have this tool on my account. I have seen it on lightningbase.com hosting however.
Creating a manual clone:
Because we don’t have the clone tool we will create a manual clone on a subdomain and for the most part this is fairly evergreen in the face of the live WordPress site changing so you only have to do this once or every few months in my experience if you are continually working on a website int his fashion.
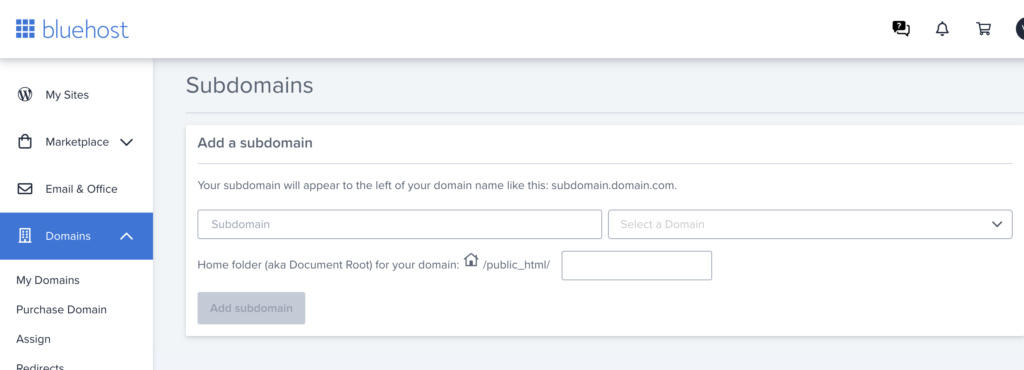
Create a sub-domain:
You are going to need a different URL to access the cloned website on your server. Create a subdomain similar to this but you can call it anything you like really, clone.yourwebsite.com
In Bluehost, you can do this from the ‘Domains‘ tab in the left hand menu of your dashboard. It will create all the necessary SSL certificates etc in doing so. Select the name of the sub-domain and then the URL with which you want that sub-domain to work on.
Create a new database and related username/password set
Your ‘cloned’ website is necessarily going to use a separate database from your live one. In order to do that in a later step we first need to set up a username and password for the new cloned site to access the database as well as set up some privilege’s for that user.
The below screenshots are from Bluehost which I use. In Bluehost go to ‘Advanced’ in your dashboard and then look for the ‘Databases’ sub-menu item.
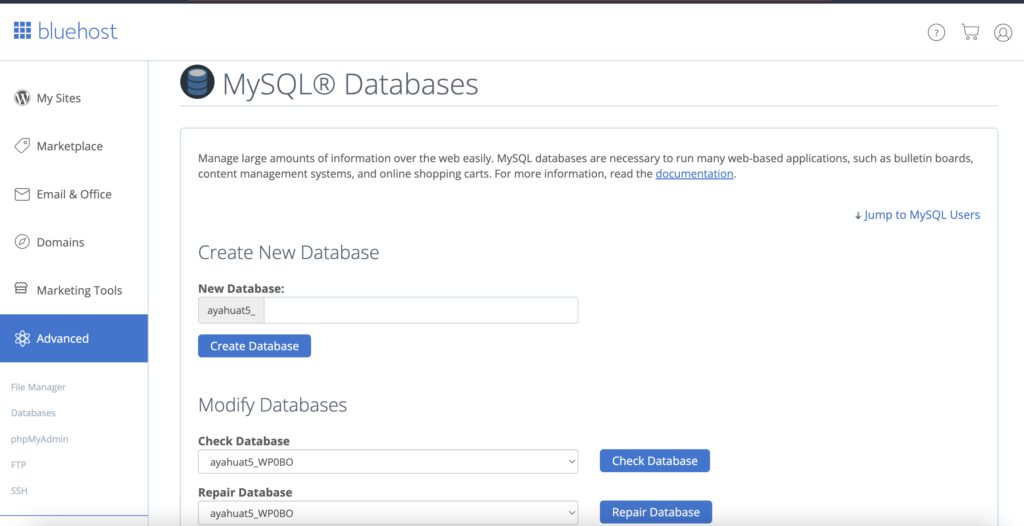
From here you will want to create two things. A new database and a new username and password set for that new database.
NOTE: As you create these copy and paste the name of the database, username and password to a separate file or write them down on paper. You will need to use these in a later step so we need to refer back to them.
When you are creating the new user and password for the database you will be asked what ‘privileges’ to allow this user. Make sure to select all.
Both the new database and the username/password set can be created from the Database’s page which you accessed above.
Clone the WordPress database but with some edits:
Export the old DB but with some edits:
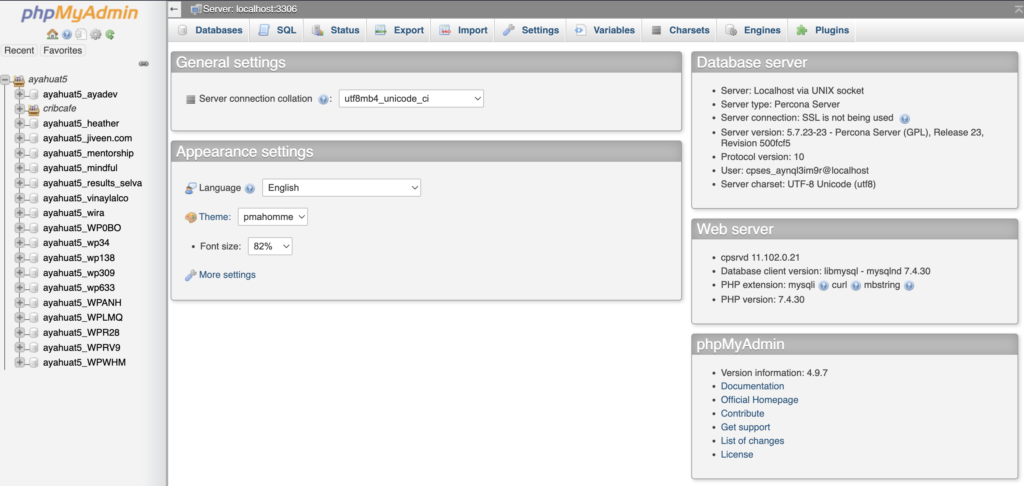
Now go the the PHPMyAdmin area in your hosts cPanel area. In Bluehost you will go to the ‘Advanced‘ and then ‘PHPMyAdmin‘ sub menu item. If you aren’t on Bluehost then look for how to access your cPanel and then from there look for PHPMyAdmin.
You will see something like the below in PHPMyAdmin. Look for your live site’s website in the list on the left hand side and click into it.
NOTE: if you don’t know which database is your live sites’ then look in the sites wp-config.php file and see the DB_NAME variable value to know this.
Make sure HAVE clicked into the specific database for your live site before proceeding. You’ll get incorrect results if you don’t.
Now on the top menu look for ‘export’ tab. Click into it. You’ll see something like the below.
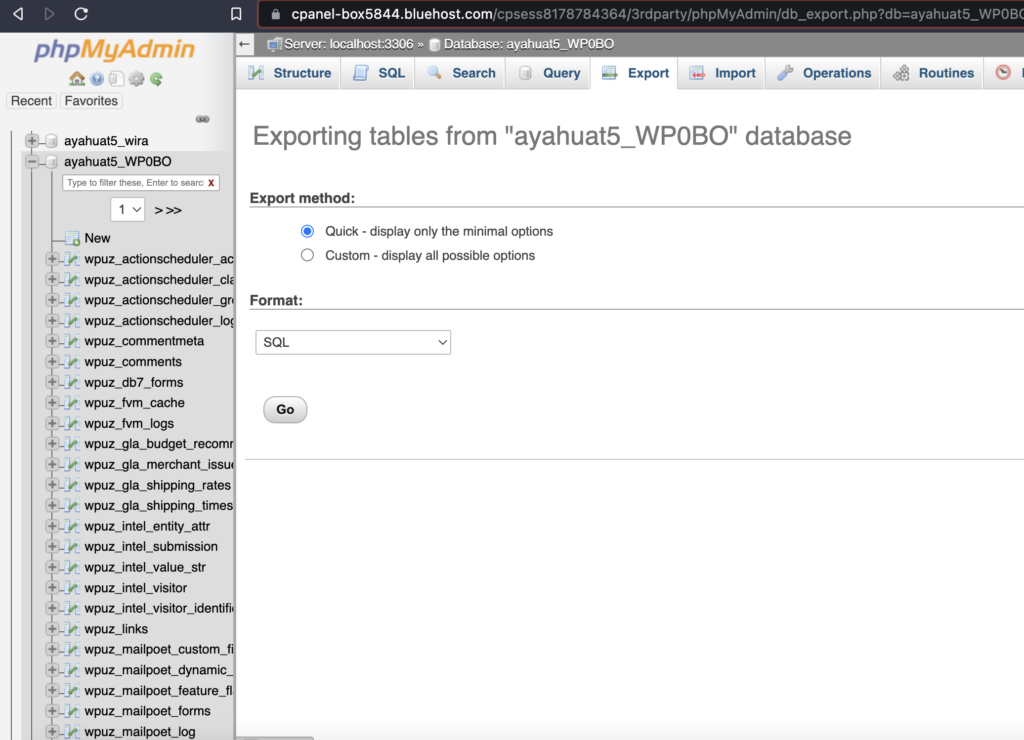
Select the ‘custom‘ option and then find the ‘drop database‘ option before clicking ‘Go’ to export the database as a .sql file.
Once downloaded, open this file in a text editor (I use Sublime text) and search and replace the following text in your editor. We are replacing the old (live) URL for the new (sub-domain) URL. If we don’t do this our site will not work. WordPress hardcodes links in its database hence its a necessary step.
Find: yoururl.com
Replace With: youchosensubdomain.yoururl.com
There will be thousands of these within the database. That’s normal.
Once replaced save the file.
PROTIP: Take care to do this properly otherwise the rest of the instructions on this page will still break. Before moving on check to see that you have replaced (just check a few of them) the old URLs for the new.
Import the edited Database to our ‘clone website’
Now we are going to import this freshly edited .sql file into the database you created in the steps above which the cloned website will utilize. Remember I asked you to write down the name of the Database which you created. This is the one you will need to reference in the following steps.
Go back to PHPMYAdmin. Find your cloned database in the list of all databases on the left. Click on it. It’s empty at this point. Then click the import tab on the top left. You’ll be presented with an upload field. Use it to select the freshly edited .sql file with which you replaced all the URLs in in the above step. Upload it. If you get errors then revisit the steps previous to this.
If successful then you have uploaded the edited database file to the database with which you created for your cloned website to use. Well done. Let’s go do some more setup.
Copy the WordPress files
- Go back to your cPanel
- Find the File System Icon. Click into it.
- Now find the root of your WordPress’s sites files and also click into it.
- PROTIP: In the File System viewer you will see a folder named something like, ‘yoursite.com’ or simply ‘yoursite’. If you don’t see these check the ‘public_html’ folder as they may also be in there.
- Now select all of the files within this folder.
- Then near the top of the page find the ‘copy‘ button. Click it.
- You will be asked to enter a folder path to copy the new files to. You should enter the path to the sub-domain url you created.
- NOTE: When you crated the sub-domain, behind the scenes, a folder should have been created with a similar name to the sub-domain itself. Eg, if you created ‘clone.yoursite.com’ then enter the file path for that. It’s possible, as it is on Bluehost, that the filepath you enter will need to be ‘public_html/clone.yoursite.com’.
- Once its copied go check it has done so properly by navigating to the sub-domain folder itself and just visually checking it looks ok.
- While you are in the sub-domain folder we will edit some details.
Edit some site file in the cloned website
Open up the wp-config.php file in the root of your sub-domain folder. Find the variables below,
define( 'DB_NAME', 'replaceThis' );
define( 'DB_USER', 'replaceThis' );
define( 'DB_PASSWORD', 'replaceThis' );
and replace the value with those that you created in the above steps. Remember that you created a new database name, username and password and noted them down? Now is the time to use them.
Make those changes and then save.
NOTE: If you don’t do this then the cloned site will be connected to the live database. This is potentially a huge problem as your edits int he cloned site will be saved into the live site as well. Depending on what you’re doing this could be problematic!
CONGRATS! You, in theory , have cloned your site. You can access it by navigating to your given sub-domain in your browser. If you encounter issues its kinda normal with a process like this so feel free to drop a comment below or revisit the instructions.
But there are some additional things you can do to make this cloned site perfect.
Making the site private with htaccess:
This sub-domain is able to be access by the public in its current state. That means it is another attack vector for hackers and is able to be scrolled and indexed by Search Engines. Neither of these are great.
The later means that users might see your search results in Google and navigate to the cloned (incorrect) site. This will possibly confuse your customers and be a point against you in terms of SEO as Google might consider this ‘duplicate data’.
It may not, I’m actually not sure how exactly Google interprets a sub-domain like this but better be safe than sorry and also its enough reason to protect it via an htaccess password so users don’t get there when you don’t want them to and to reduce the ability of hackers to find vulnerabilities in your sites.
Replicating the changes on the live site:
Once you are done with the changes you have on your cloned site make sure to keep a note of the things you have done in the CMS and the code to launch the final product to the live site because you will need to replicate these on the live site to execute your desired alterations.
Using GIT:
If you are wanting to set up a GIT Repository with WordPress you can do it. It would be suitable to working with a theme or plugin code locally to push and pull changes from your local to a development site AND once happy merging and launching the changes to the live site.
If you are doing this you will also want to know how to connect via SSH to your server so you can push and pull from your local repository and your equivalent repo on the server.